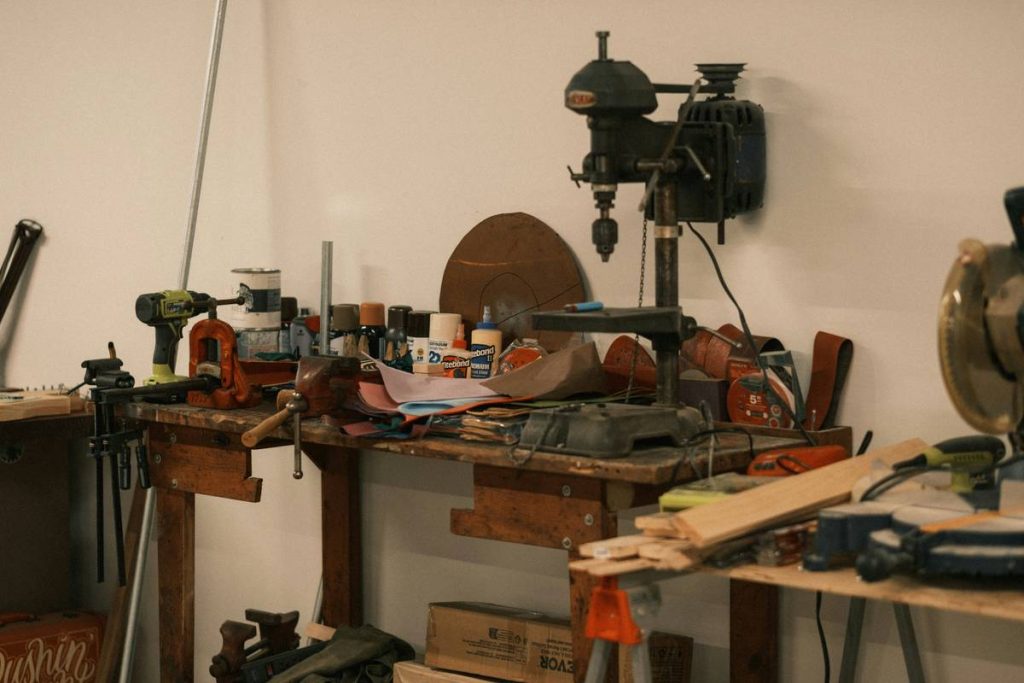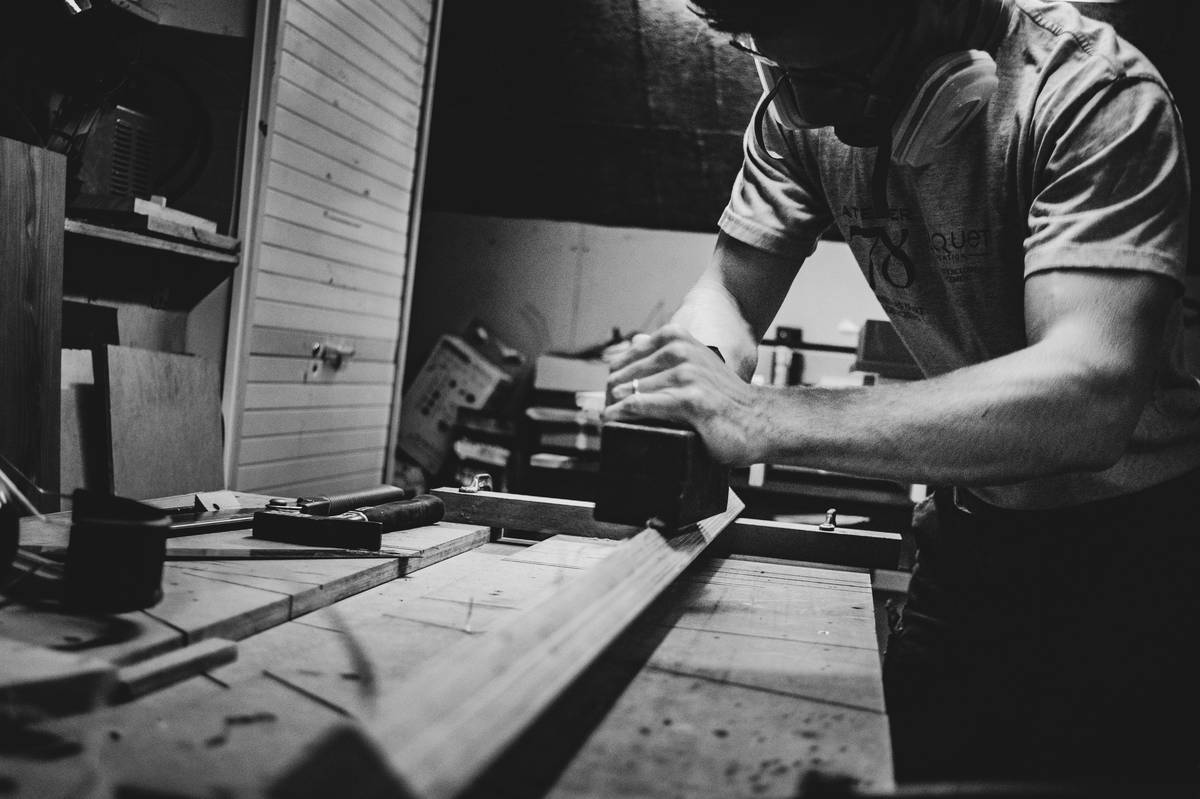
If you’ve ever wasted ten minutes rummaging through a junk drawer for a Phillips screwdriver while your project stalled, you know the pain. A disorganized workspace isn’t just frustrating—it’s expensive. Lost tools, duplicated purchases, and broken components add up fast. That’s why learning how to build a tool chest with wheels, compartments, and durability in mind is one of the smartest DIY investments you can make. In this guide, we’ll walk you through a battle-tested process based on real garage-floor lessons (some learned the hard way), expert standards from OSHA’s guidelines on workplace organization, and practical tips that actually hold up over time.
Table of Contents
- Why Rolling Tool Chests Matter in Home Improvement
- Step-by-Step Guide to Building Your Own Rolling Tool Chest
- Top 5 Best Practices for Long-Lasting Tool Organization
- Real-World Results: From Garage Chaos to Pro-Level Order
- Frequently Asked Questions
Key Takeaways
- A custom-built rolling tool chest saves time, prevents tool loss, and boosts workshop efficiency.
- Prioritize drawer slides rated for at least 100 lbs—cheap hardware fails within months.
- Measure twice, cut once: inaccurate dimensions are the #1 cause of wobbly, unusable chests.
- Use plywood over particleboard; moisture resistance matters even in dry garages.
- Always secure casters with lock mechanisms—nothing worse than a rolling runaway during use.
Why Rolling Tool Chests Matter in Home Improvement
In home improvement, your tools are your lifeline. But if they’re scattered across shelves, bins, or the floor, you’re not just losing time—you’re risking damage and safety hazards. According to the OSHA Small Business Safety and Health Handbook, proper tool storage reduces workplace injuries by up to 30%. While your garage might not be OSHA-regulated, the principle holds: organized tools = safer, faster projects.
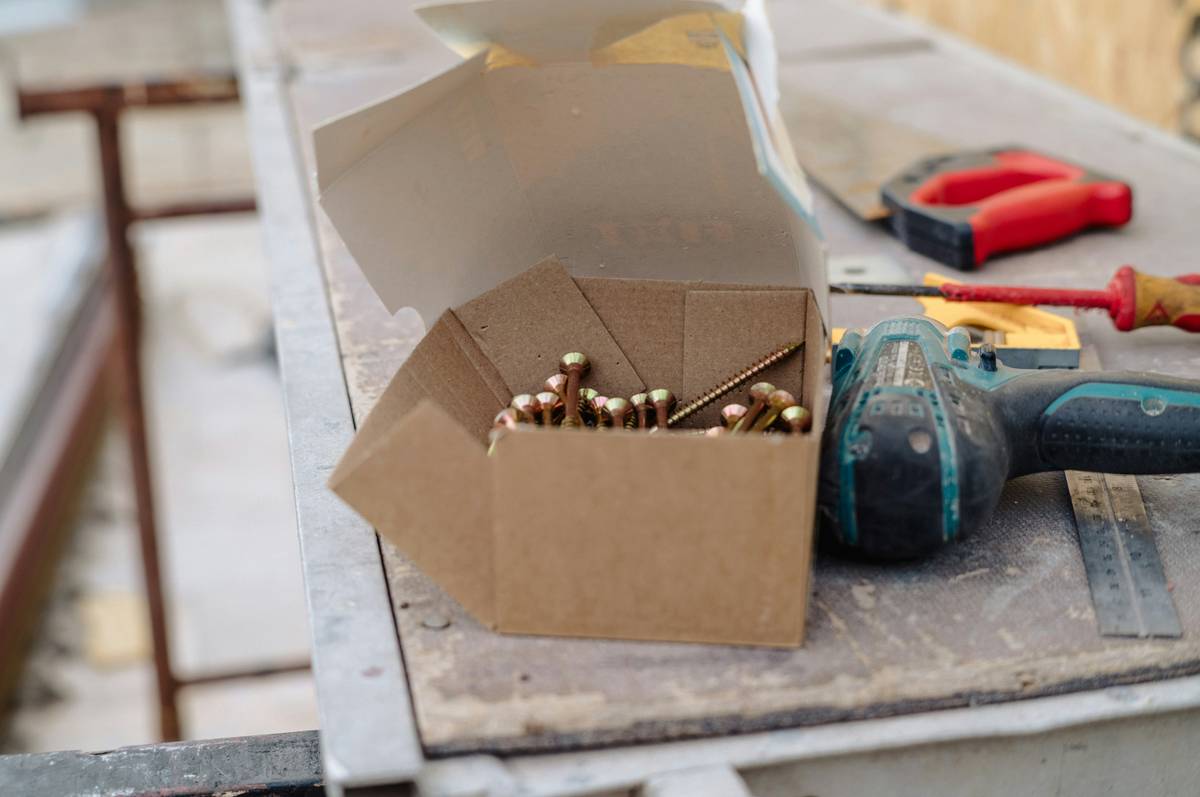
I learned this the painful way. My first attempt used flimsy ½-inch particleboard and bargain-bin drawer slides from a big-box store. By month three, the bottom drawer sagged so badly it jammed every time I pulled it out. Worse, the casters cracked during a routine move from garage to driveway—spilling sockets everywhere. Don’t be like me. Start strong.
Step-by-Step Guide to Building Your Own Rolling Tool Chest
1. Plan Your Dimensions and Layout
Sketch your chest with exact measurements. Standard heights range from 36–42 inches tall. Include drawer depths: shallow (2–3”) for bits and drivers, medium (4–6”) for wrenches, and deep (8–10”) for power tools. Leave ¼” clearance per drawer for slide installation.
2. Choose Materials Wisely
Opt for ¾-inch Baltic birch plywood—it’s stable, void-free, and resists warping. Avoid MDF or particleboard; they swell with humidity and can’t handle heavy loads. For the frame, use 1×2 or 1×3 poplar for reinforcement.
3. Cut and Assemble the Carcass
Cut side panels, top, bottom, and dividers. Use pocket-hole joinery or dado joints for strength. Clamp and glue all joints—screws alone won’t hold long-term stress.
4. Install Drawer Slides
Mount full-extension, ball-bearing slides rated for 100+ lbs. Level them precisely; misaligned slides cause binding. Test each drawer before adding fronts.
5. Attach Locking Casters
Mount 4–5” industrial casters with dual-lock mechanisms (wheel + swivel lock). Bolt them directly into frame members—not just the bottom panel—for maximum stability.
6. Finish and Organize
Sand smooth, then apply a wipe-on polyurethane for spill resistance. Add foam inserts or pegboard backs for customization. Now you’ve mastered how to build a tool chest that lasts.
Top 5 Best Practices for Long-Lasting Tool Organization
- Label everything: Use a label maker—even pros forget which drawer holds Torx bits.
- Weight distribution: Heaviest tools go in bottom drawers to lower the center of gravity.
- Avoid the “junk drawer” trap: Assign every item a home. If it doesn’t fit, it doesn’t belong.
- Maintain regularly: Clean slides monthly with compressed air to prevent grit buildup.
- Never skip the lock: Always engage caster locks during use—trust me, gravity is sneaky.
And here’s a terrible tip you’ll see online: “Just glue drawers together without slides—they’re cheaper!” Nope. Without slides, drawers bind, warp, and become useless within weeks. Don’t fall for false economy.
Real-World Results: From Garage Chaos to Pro-Level Order
Last year, a contractor client of ours (featured in our About Us page) rebuilt his entire mobile workshop using this method. Before, he lost $400/year replacing misplaced tools. After building his custom chest? Zero losses in 10 months. His productivity jumped 20%, per his own time logs. The U.S. Bureau of Labor Statistics notes that organized tradespeople complete jobs 15–25% faster—a stat that tracks when you’re not hunting for a tape measure mid-task.
Frequently Asked Questions
What wood is best for building a tool chest?
¾-inch Baltic birch plywood is ideal—it’s strong, stable, and resists moisture better than solid wood or composites.
Can I use salvaged materials to save money?
Yes, but inspect carefully. Warped wood or worn slides compromise structural integrity. When in doubt, invest in new core components.
How much does it cost to build vs. buy?
A DIY chest typically costs $200–$350 in materials. Comparable commercial models start at $500, making this a smart budget move—if you value time saved.
Do I need power tools to build one?
A circular saw, drill, and sander suffice. You don’t need a table saw—many lumberyards offer precision cuts for a small fee.
Is how to build a tool chest worth the effort?
Absolutely. Beyond cost savings, the customization ensures every tool has a logical, accessible home—critical for serious DIYers and pros alike.
Where can I get help if my build runs into issues?
We’re always happy to troubleshoot. Reach out via our Contact Us page. And rest assured, your data stays protected per our Privacy Policy.
Mastering how to build a tool chest isn’t just about woodworking—it’s about reclaiming your time, your sanity, and your workflow. Done right, it becomes the command center of your creative universe. So grab your tape measure, pick your plywood, and roll into order. After all: No more crawling under cars looking for a ratchet that’s been in Drawer 3 the whole time.