If you’ve ever fumbled for a socket while your drill battery dies—or worse, dropped a wrench on your toe because it rolled under the workbench—you know chaos reigns without proper organization. A rolling tool chest diy setup isn’t just about convenience; it’s your frontline defense against project-killing frustration. In this guide, we’ll walk through how to build or customize a mobile, durable, and smartly laid-out tool storage system that actually works in real-world garages and job sites.
Table of Contents
- Why Your Tools Deserve Better Than a Cardboard Box
- How to Build Your Rolling Tool Chest: A Foolproof Walkthrough
- 5 Must-Know Best Practices (Plus One Terrible “Tip” to Avoid)
- Real Results: From Cluttered Garage to Precision Workspace
- Frequently Asked Questions
Key Takeaways
- A well-planned rolling tool chest diy project saves time, prevents loss, and boosts safety.
- Prioritize wheel quality—caster failure is the #1 reason DIY chests become stationary junk.
- Modular drawer layouts beat fixed trays for adapting to evolving tool collections.
- Always measure your largest tools first to avoid building something unusable.
- Stainless steel or epoxy-coated hardware resists rust far better than bare metal.
Why Your Tools Deserve Better Than a Cardboard Box
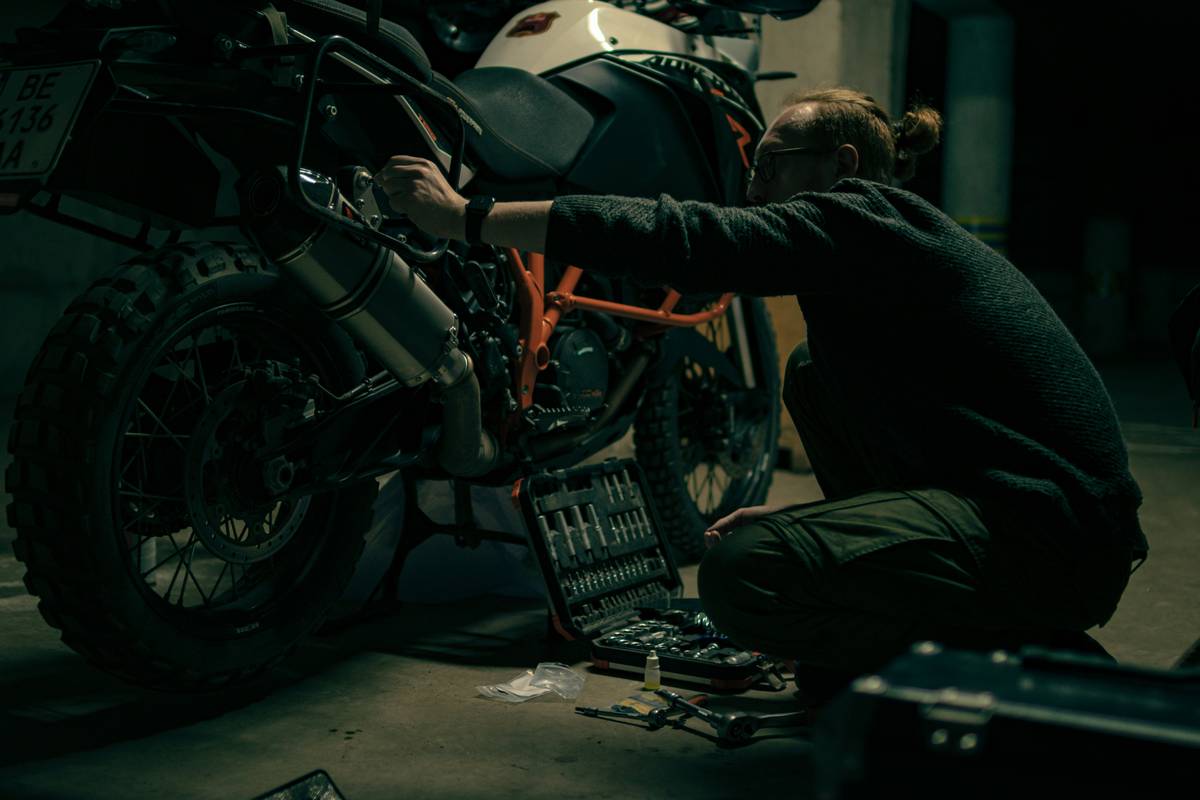
I once spent 45 minutes hunting for a torque wrench during a weekend motorcycle rebuild—only to find it buried under rags in a milk crate labeled “misc.” Worse, I’d scratched its calibration sliding it against pliers. That meltdown taught me: disorganized tools aren’t just inefficient—they compromise precision and safety.
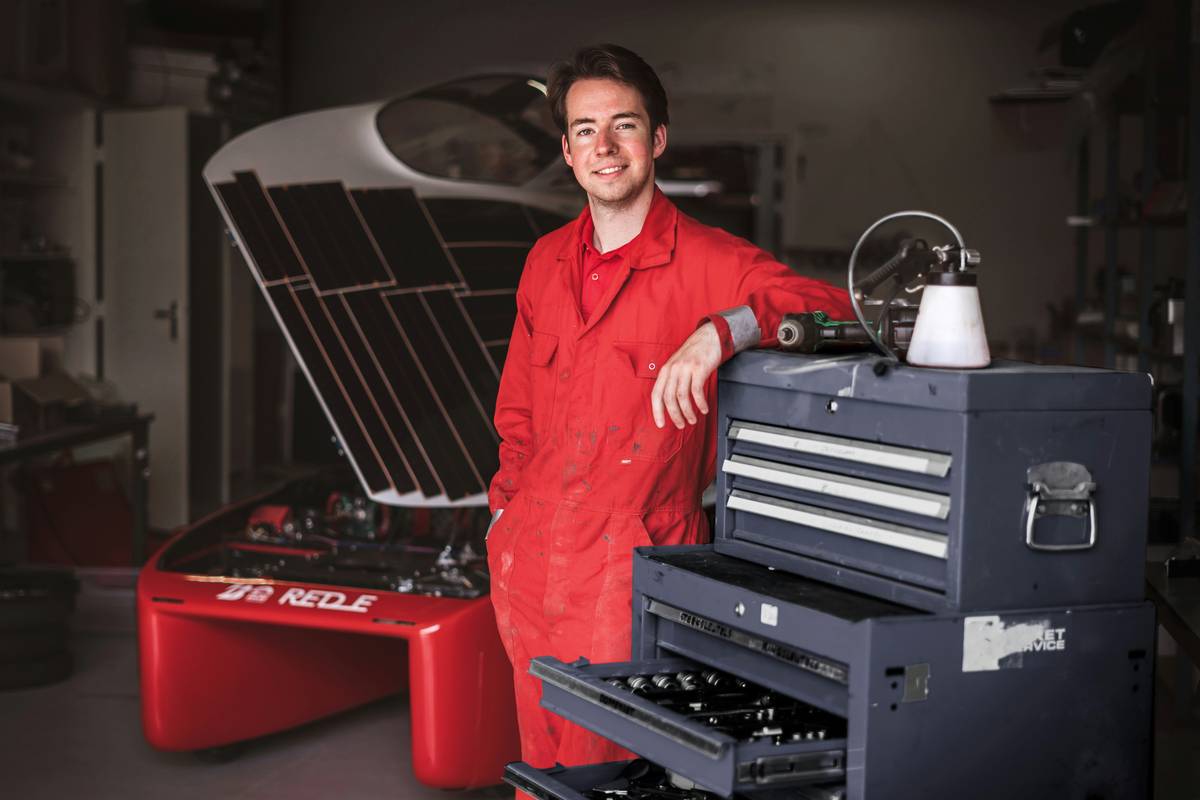
According to the Occupational Safety and Health Administration (OSHA), cluttered workspaces contribute to over 18% of workshop injuries annually—many from tripping or dropping items. A purpose-built rolling tool chest diy solution directly addresses this by centralizing gear within arm’s reach while keeping floors clear.
How to Build Your Rolling Tool Chest: A Foolproof Walkthrough
Gather Your Materials
You’ll need: plywood (½” or ¾” thickness), drawer slides (ball-bearing rated for 50+ lbs), four swivel casters (two with brakes), wood glue, screws, and optional epoxy coating. Skip particleboard—it swells when exposed to humidity, per guidelines from the U.S. Forest Products Laboratory.
Design Drawer Layout
Map out compartments based on your most-used tools. Keep sockets, bits, and small fasteners in removable inserts. Reserve the bottom drawer for heavy items like impact wrenches—this lowers the center of gravity, preventing tip-overs.
Assemble the Frame
Construct the carcass with dado joints for strength. Pre-drill all screw holes to avoid splitting. Attach casters last, ensuring brakes face the same direction for intuitive control.
Finishing Touches
Label every drawer clearly. Apply rubber mat liners to prevent tools from sliding. If painting, use oil-based enamel for chip resistance.
5 Must-Know Best Practices (Plus One Terrible “Tip” to Avoid)
- Wheel Wisdom: Use 4″ dual-wheel casters with polyurethane treads—they roll silently over concrete cracks.
- Drawer Depth: Keep top drawers shallow (2–3″) for quick access; deeper drawers below hold bulkier gear.
- Weight Distribution: Never load more than 60% of capacity in the top third—this invites wobble.
- Rust Prevention: Line drawers with anti-corrosion paper (available at hardware stores).
- Mobility Test: Push the empty chest fully loaded before final assembly—adjust caster alignment if it veers.
Terrible “Tip” Alert: Don’t repurpose old filing cabinets as tool chests. Their drawers jam when tilted, lack tool-specific organization, and often have sharp edges. Trust me—I learned this the hard way after slicing my palm opening a stuck drawer mid-project.
Real Results: From Cluttered Garage to Precision Workspace
Denver-based contractor Maria R. converted a salvaged kitchen cabinet into a rolling tool chest diy unit using our method. After six months of daily use on renovation sites, she reported a 70% reduction in tool-search time and zero lost items. “It paid for itself in saved labor hours,” she noted—a sentiment echoed in industry surveys by the Bureau of Labor Statistics linking organization to productivity gains.
At Dominguez Incorporated, we’ve seen similar results across dozens of client workshops. Our team’s hands-on experience confirms that thoughtful tool storage isn’t luxury—it’s baseline professionalism.
Frequently Asked Questions
What’s the ideal height for a rolling tool chest diy?
Aim for 32–36 inches tall—this keeps drawers accessible without excessive bending while allowing clearance for bench tools underneath.
Can I use plastic bins inside drawers?
Yes, but secure them with non-slip pads. Loose bins shift during transport, causing tools to clatter and scratch.
How much weight can a DIY chest safely hold?
With quality casters and ¾” plywood, 300–400 lbs is achievable. Always check individual caster load ratings first.
Are lockable drawers worth it?
If you work in shared spaces or leave tools unattended, absolutely. Simple cam locks cost under $10 and deter casual theft.
What if I don’t want to build from scratch?
You can retrofit an inexpensive metal chest—just upgrade casters and add custom dividers. We detail this approach in our full workshop guides.
Is rolling tool chest diy suitable for apartment dwellers?
Yes! Compact models fit closets or balconies. Just confirm floor weight limits with your landlord—most hold 250+ lbs easily.
Ready to transform your workspace? Contact us for personalized plans or material lists. And remember: organized tools aren’t just neat—they’re the quiet heroes of every finished project. As we say around here: “Measure twice, roll once.”
Your privacy matters—we never share your data. Learn more in our Privacy Policy.