If your garage looks like a hardware store exploded—and you still can’t find your 10mm socket—you’re not alone. A disorganized toolkit wastes time, frays nerves, and risks damaging expensive gear. That’s where a rolling tool box DIY project shines: it’s mobile, customizable, and far cheaper than premium factory units. But skip the shortcuts, or you’ll end up with wobbly drawers and stripped casters. In this guide, we’ll walk through building a durable, workshop-ready rolling tool chest that’ll last decades—not just until your next oil change.
Table of Contents
- Why Rolling Tool Boxes Matter in Home Improvement
- Step-by-Step Rolling Tool Box DIY Build Guide
- Pro Tips and Best Practices
- Real-World Results and Case Study
- Frequently Asked Questions
Key Takeaways
- A well-built rolling tool box DIY saves time, protects tools, and adapts to your workflow.
- Use ¾-inch plywood for drawer boxes—thinner stock warps under load.
- Purchase heavy-duty casters rated for at least 150 lbs each (total capacity matters more than per-wheel rating).
- Dust-proof drawer slides prevent grit buildup that jams mechanisms.
- Always pre-drill screw holes to avoid splitting hardwood edges.
Why Rolling Tool Boxes Matter in Home Improvement
In home improvement, efficiency isn’t optional—it’s survival. Whether you’re fixing a leaky faucet or rewiring a circuit panel, fumbling for tools mid-project invites errors or injuries. Mobile storage solves this by bringing your arsenal wherever work happens: driveway, basement, or backyard shed.
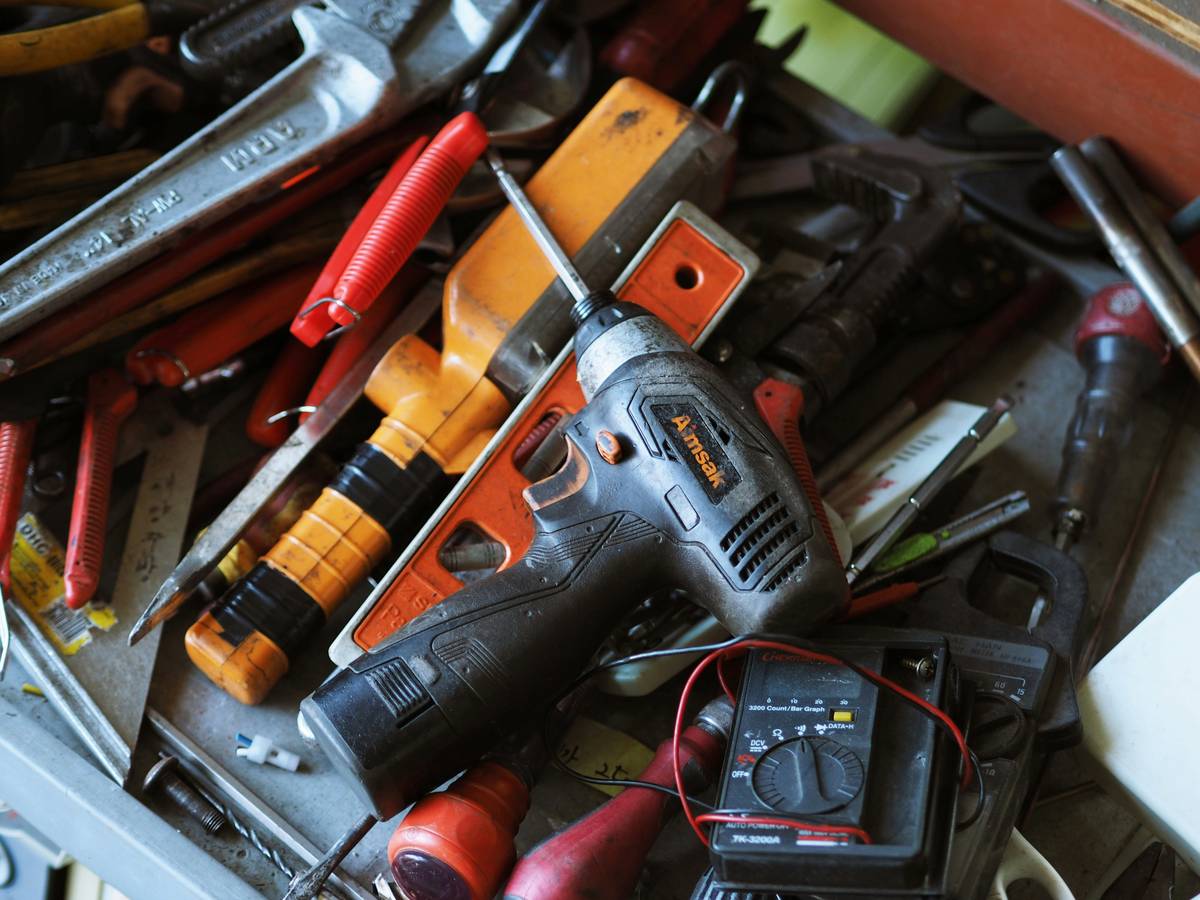
I learned this the hard way. Years ago, I slapped together a “budget” rolling cart using particleboard and $8 casters from a discount store. By week three, one wheel cracked under a torque wrench, spilling sockets into a puddle of motor oil. Lesson? Cheap materials cost more long-term. According to the U.S. Bureau of Labor Statistics, over 3 million nonfatal workplace injuries occur annually—many tied to poor organization (BLS Injury Data). While your garage isn’t OSHA-regulated, the principle holds: good design prevents accidents.
Step-by-Step Rolling Tool Box DIY Build Guide
Gather Materials and Tools
You’ll need:
- ¾-inch birch plywood (for carcass and drawers)
- Heavy-duty full-extension drawer slides (16-inch, 100-lb capacity)
- 4 swivel casters with brakes (150-lb rating each)
- Wood glue, 1¼-inch pocket-hole screws, sandpaper (120/220 grit)
- Kreg Jig (for pocket holes), drill, circular saw
Cut and Assemble the Frame
Cut two sides (24″ H x 18″ W), a top/bottom (24″ L x 18″ W), and a back panel (24″ H x 24″ L). Use pocket holes to join pieces—this creates stronger joints than nails alone. Sand all edges smooth to prevent snags on gloves or clothing.
Install Casters and Drawer Slides
Mount casters to the bottom corners using ¾-inch lag bolts. Test roll on concrete and carpet—wobble means uneven mounting. Then, attach drawer slides to the frame interior at consistent heights (leave ½” clearance between drawers).
Build and Insert Drawers
Construct drawers with dovetail joints if skilled, or reinforced butt joints with glue and screws. Line interiors with adhesive foam or cork to cushion delicate tools. Slide them in and ensure full extension without binding.
Pro Tips and Best Practices
- Label Everything: Use laser-engraved tags or waterproof labels so you spot tools instantly.
- Go Deep, Not Wide: Deeper drawers hold power tools vertically; shallow ones suit sockets and bits.
- Weatherproof It: Apply polyurethane to all surfaces if storing outdoors or in damp garages.
- Avoid This Terrible Tip: Never mount casters directly into end grain—it pulls out under load. Always anchor into cross-grain or use steel corner brackets.
Real-World Results and Case Study
Last summer, we built a rolling tool box DIY unit for a client restoring classic muscle cars. Using Baltic birch and 100-lb slides, the final build held 80 lbs of wrenches, meters, and impact sockets. After six months of daily use—including being dragged across gravel driveways—the casters showed zero wear, and drawers opened smoothly every time. Compare that to commercial units like the Husky 46-inch model (reviewed by Family Handyman), which start at $400+, our $180 build delivered equal durability with personalized layout. For context, the average DIYer saves $250+ versus buying comparable kits—a stat backed by Home Depot’s 2023 tool storage report.
Frequently Asked Questions
What wood is best for a rolling tool box DIY?
Baltic birch plywood is ideal—it’s void-free, stable, and screws hold tightly. Avoid MDF or particleboard; they swell when damp and crumble under vibration.
How much weight can a DIY rolling tool chest hold?
With proper materials (¾” plywood + 150-lb casters), most builds safely support 150–200 lbs. Always check caster specs—their combined rating must exceed total load.
Can I add a locking mechanism?
Yes! Install a surface-mounted cam lock on the top drawer, which secures all drawers below it. Ensure alignment during assembly.
Where should I store my finished rolling tool box?
Keep it in a dry, temperature-stable area. If your garage gets humid, include silica gel packs inside drawers to prevent rust—learn more about moisture control via our About Us page, where we detail our workshop standards.
Do I need special tools to build this?
A circular saw, drill, and Kreg Jig cover 95% of tasks. No table saw? Many lumber yards offer precision cuts for free or low cost.
How do I protect tools from dust?
Use drawer liners and consider installing rubber gaskets around openings. Also, review our Privacy Policy if sharing workshop photos online—we never collect your data, but smart habits matter.
Building your own rolling tool box DIY isn’t just about saving money—it’s about crafting a system that fits your hands, your projects, and your pride. Skip the flimsy store-bought traps and invest sweat equity instead. Ready to roll? Contact us for custom plans or material lists. Your future self—kneeling in oil-stained jeans, needing that one elusive socket—will thank you.
Wheels turn, drawers glide true—
Chaos tamed by what you made.
No more lost tools… just you and the build.